Launching Q3 2026 — Coming Soon
The roof inspector's field-ready companion.
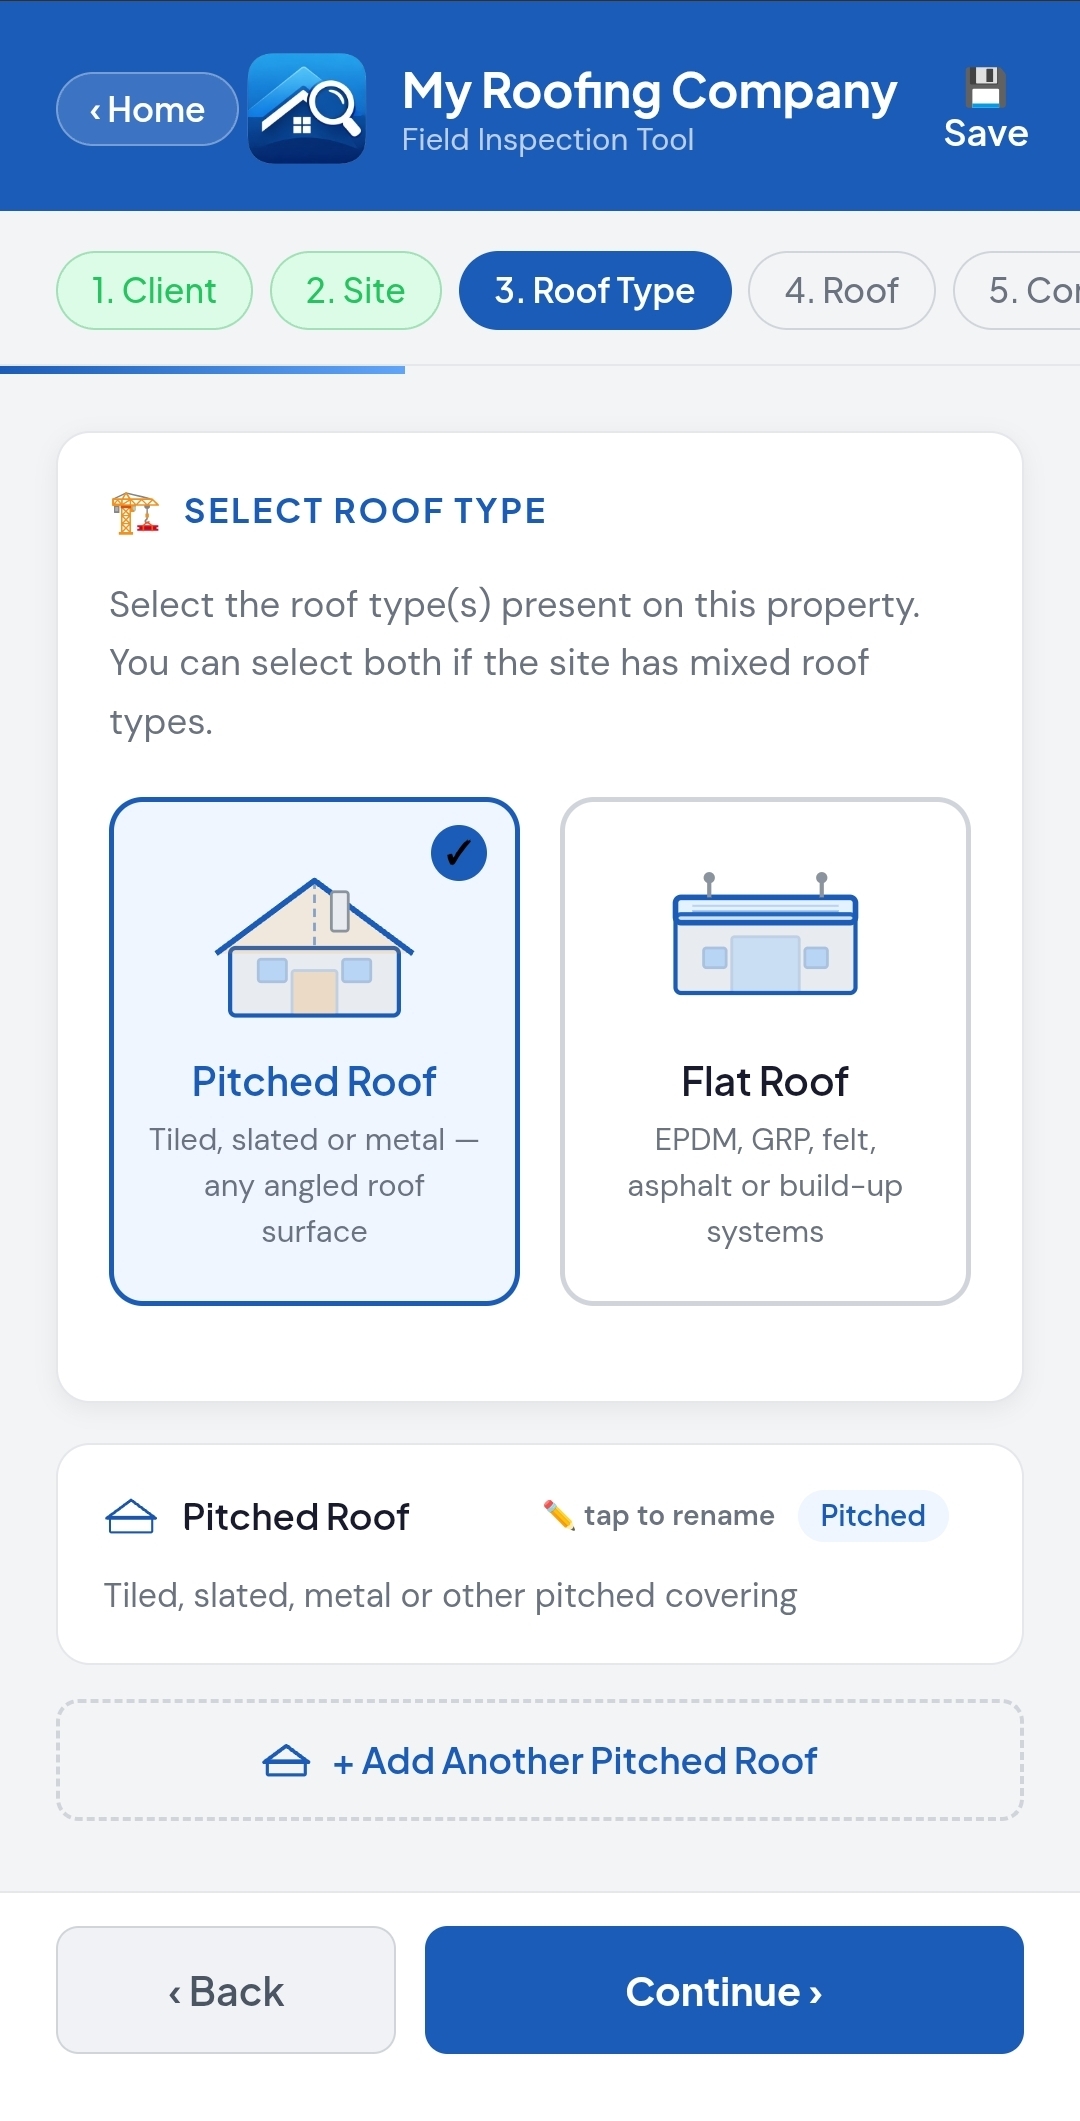
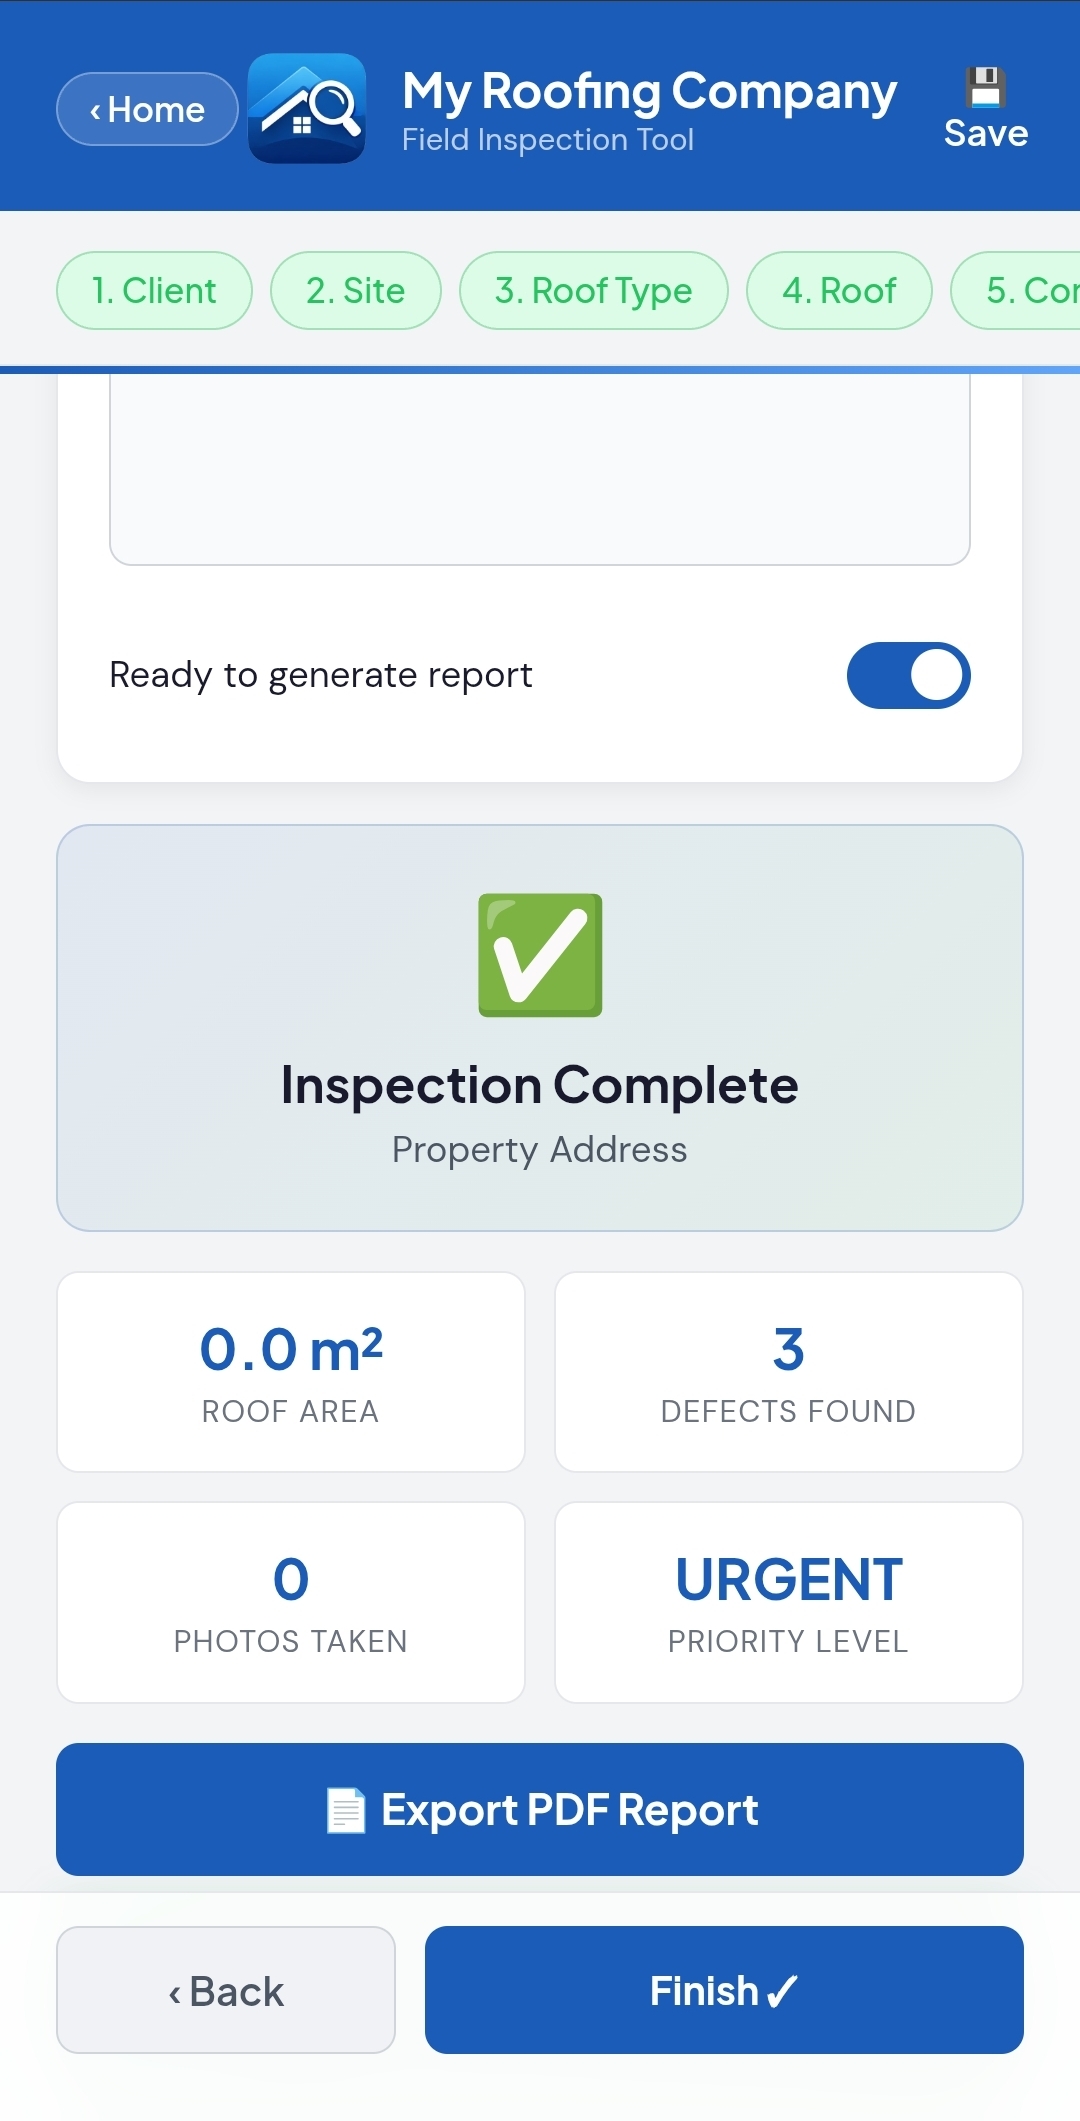
Capture, analyse and report on every roof inspection — from client details to defect summaries — in a guided, photo-first workflow built for the trades. Mobile app + Web API.
📬 No spam. Launch updates only — straight to your inbox.
--
Days
:
--
Hours
:
--
Minutes
:
--
Seconds